Create a Native Configuration
Native Configurations allow you to easily modify common configuration values that can change between different environments (development, production, staging, etc.) so you don't need to use extra logic or manually commit them to version control. Native configurations can be attached to any native build or Automation.
You can use native configs to:
- Overwrite the unique bundle identifier in the configuration file of a Capacitor project
- Overwrite the unique bundle identifier or id attribute in the
config.xmlof a Cordova project - Overwrite the App Name as it will appear on the home screen of a device
- Overwrite the Live Update SDK variables and preferences
In this part of the tutorial, we'll set up a native configuration for Development to:
- Use a unique bundle id so that we can install both the development version of the app and the production version of the app on the same device
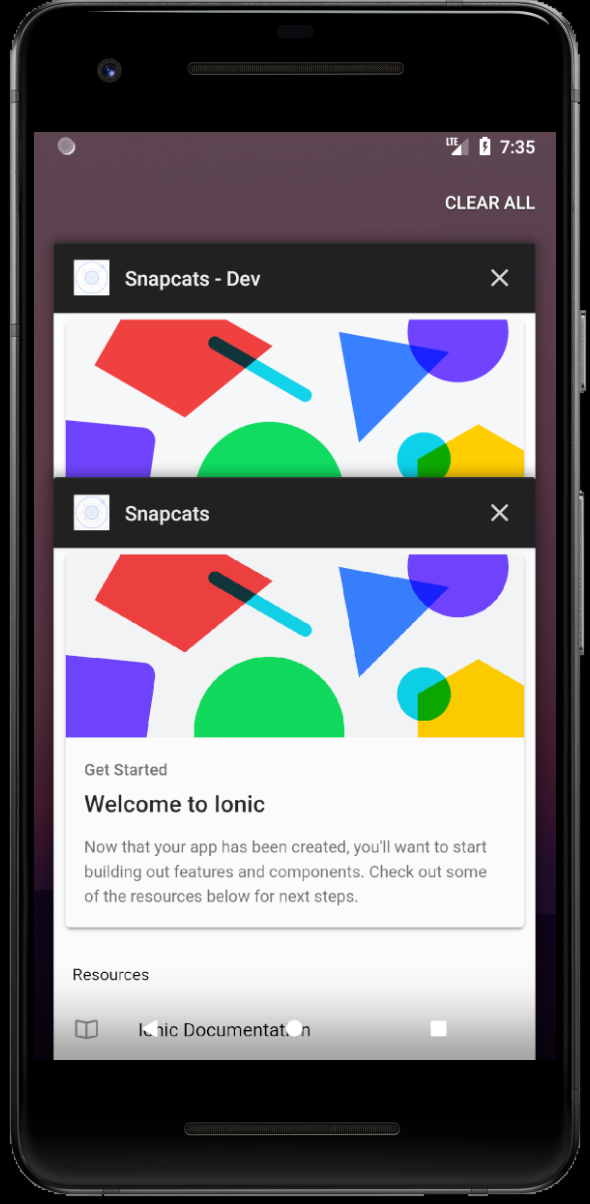
- Change the App Name so we can tell the two installations apart once they're installed on the device
- We'll also modify the Deploy Channel that the development version of the app listens to so that we can assign updates to that channel first to make sure they work (before we assign them to the
productionChannel)
Create a Native Configuration
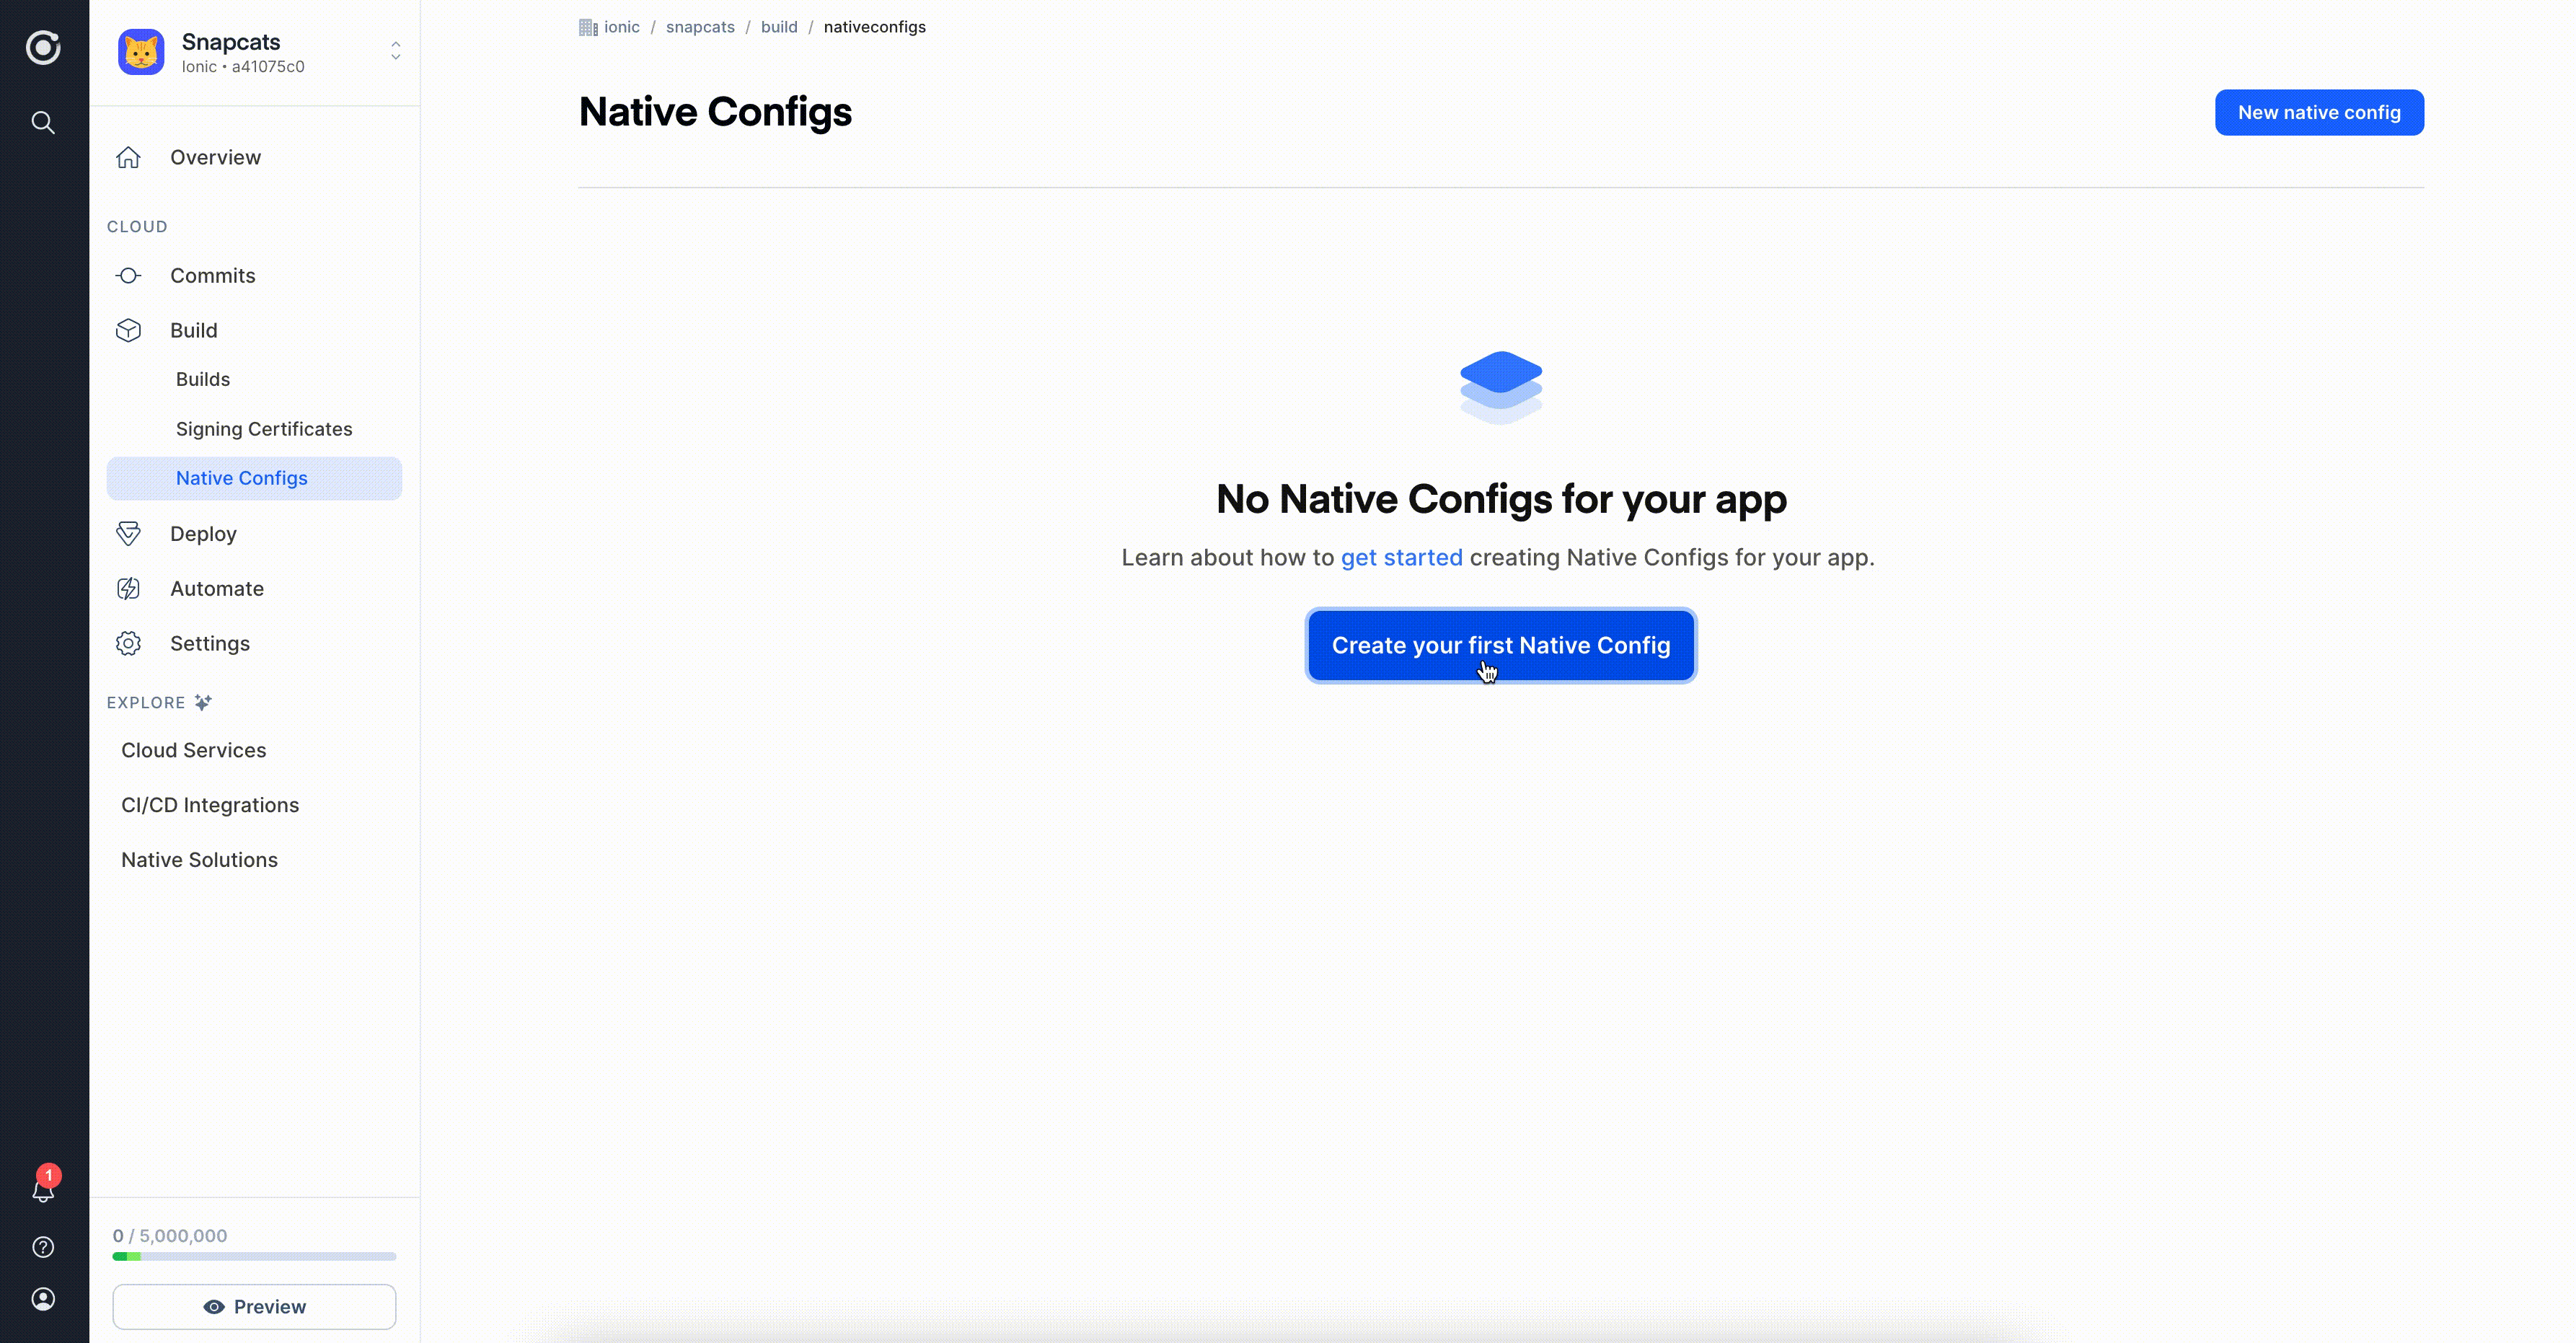
To create a native config, go to the Build > Native Configs tab in the Appflow Dashboard sidebar and click New native config in the top right.
Next:
- Name the configuration
Development - Overwrite the unique bundle id with
com.snapcats.demo.development - Overwrite the app name with
Snapcats - Dev - Overwrite the deploy channel to be
Development
Add the Native Config to an Automation
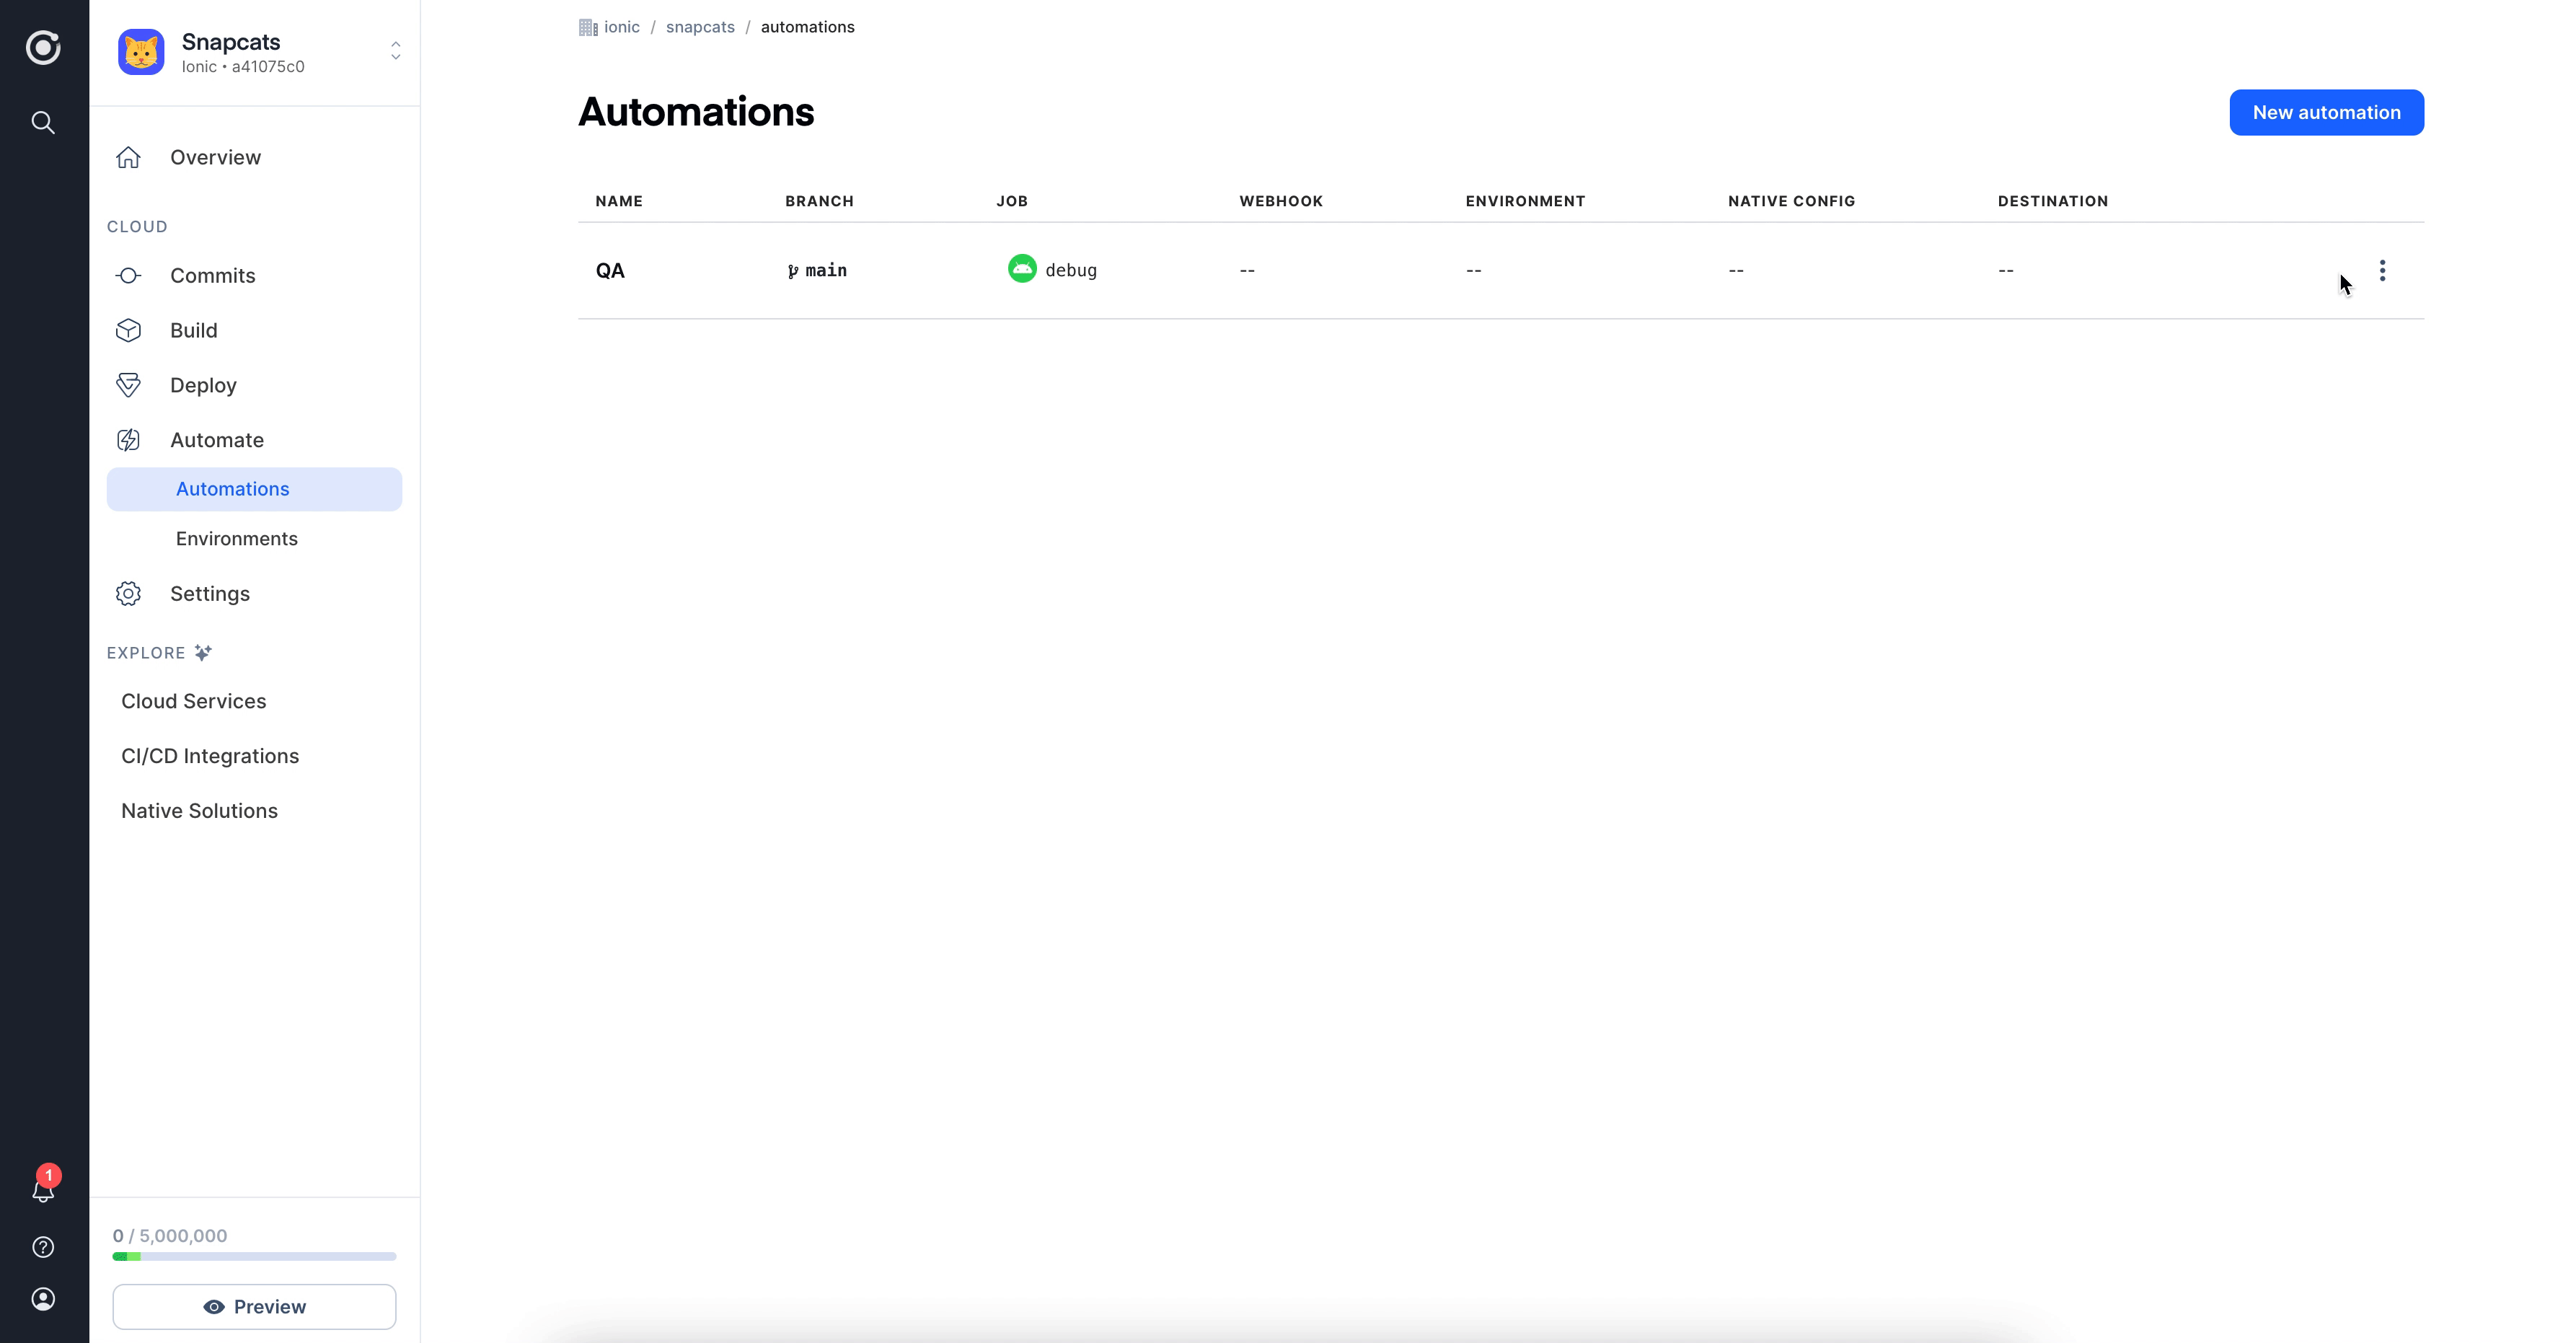
To take full advantage of automating your development environment, you'll want to add the native config to the automation we created earlier.
In your Automations tab, click Edit from the Options icon on the right of your automation, select the configuration from the Native Config dropdown and click Save.
Now your apps should automatically have a different bundle id, app name, and deploy channel between your development and production builds. This means you can install both your development and production applications on the same device and easily tell them apart! 🔥
If you plan to use Native Configurations to modify Bundle IDs with your iOS Package builds, you will need to set up code signing certificates using those alternate Bundle IDs. See our section on Generating Certificates for more information.
Ready for Live Updates
With native configs explored, you should now understand the key concepts of running and configuring native builds in Appflow. Next we will explore how Live Updates can be used with your native builds to speed up your development process!