Your First Ionic App - Framework v3
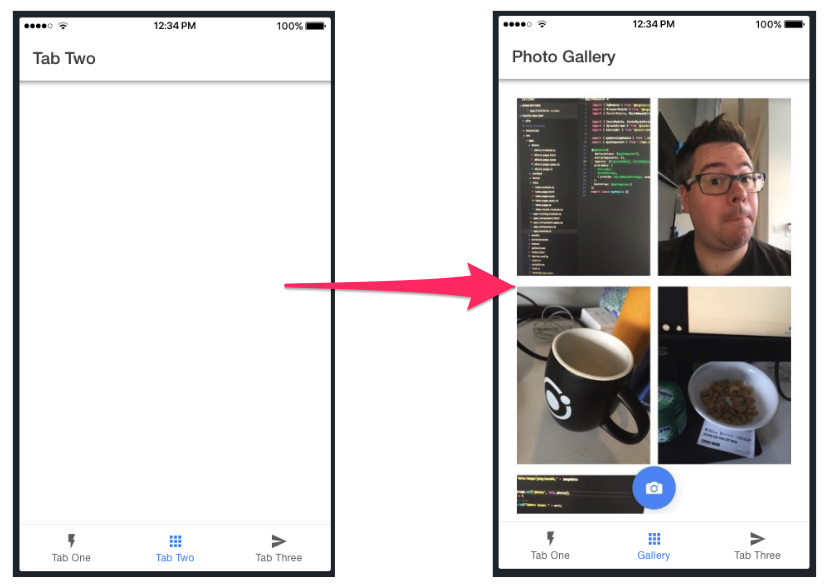
The great thing about Ionic is that with one codebase, you can build for any platform using familiar web tools and languages. Follow along as we create a working Photo Gallery. Here’s the before and after:
It’s easy to get started. Reference code for this guide can be found on GitHub.
Install Node.js
If you don’t have Node.js installed already, download the LTS version.
Install Ionic
Run the following in the command line (you may need to prepend “sudo” on a Mac):
npm install -g @ionic/cli
Create an App
Next, create an Ionic app using our “Tabs” app template:
ionic start photo-gallery tabs
This starter project comes complete with three pre-built pages and best practices for Ionic development. With common building blocks already in place, we can add more features easily!
“Would you like to integrate your new app with Cordova to target native iOS and Android?”Type “y” and press Enter. Project setup may take a few moments.
“Install the free Appflow SDK and connect your app?”Type “y” and press Enter. Appflow is a powerful set of services and features built on top of the flagship Ionic Framework. This includes updating your app instantly (skipping the app store review process!), packaging apps in the cloud, and error monitoring.
Log into your Ionic AccountSign in now to easily access awesome features like Live Deploys later in this tutorial.
What would you like to do?Choose “Create a new app on Appflow.”
Which git host would you like to use?Choose “Appflow.”
“How would you like to connect to Appflow?”- Choose “Automatically setup a new SSH key pair for Appflow” if you haven’t used SSH before.
- Choose “Use an existing SSH key pair” if you’ve used SSH before.
Next, change into the app folder, then push your code to Appflow:
$ cd photo-gallery
$ git push ionic master
That’s it! Now for the fun part - let’s see it in action.
Run the App
Run this command next:
ionic serve
And voilà! Your Ionic app is now running in a web browser. Most of your app can be built right in the browser, greatly increasing development speed.
Photo Gallery!!!
There are three tabs: “Home”, “About”, and “Contact.” Click on the About tab. It’s a blank canvas, aka the perfect spot to add camera functionality. Let’s begin to transform the About page into a Photo Gallery. Ionic features LiveReload, so when you make changes and save them, the app is updated immediately!
Open the photo-gallery app folder in your favorite code editor of choice, then navigate to /src/pages/about/about.html. We see:
<ion-header>
  <ion-toolbar>
    <ion-title>About</ion-title>
  </ion-toolbar>
</ion-header>

<ion-content class="ion-padding"></ion-content>
ion-header represents the top navigation and toolbar, with “About” as the title. We put our app code into ion-content. In this case, it’s where we’ll add a button that opens the device’s camera and shows the image captured by the camera. But first, let’s start with something obvious: renaming the About page:
<ion-title>Photo Gallery</ion-title>
Next, open src/pages/tabs/tabs.html. Change the tabTitle to “Gallery” and the tabIcon to “images”:
<ion-tabs>
  <ion-tab [root]="tab1Root" tabTitle="Home" tabIcon="home"></ion-tab>
  <ion-tab [root]="tab2Root" tabTitle="Gallery" tabIcon="images"></ion-tab>
  <ion-tab [root]="tab3Root" tabTitle="Contact" tabIcon="contacts"></ion-tab>
</ion-tabs>
Now, back up your changes to Appflow:
$ git add .
$ git commit -m “converting about page to photo gallery”
$ git push ionic master
That’s just the start of all the cool things we can do with Ionic. Up next, we’ll deploy the app to iOS and Android, then continue building the photo gallery.