Integrate a Git Host
Integrating with a Git host enables Appflow to create Live Updates and native builds based on the code you've pushed to that Git host. This page describes the general steps you'll need to integrate Appflow with a Git host.
Choose your Git Host
The process to select your Git host depends on whether you are creating a new app or are importing an existing app.
While Creating a New App
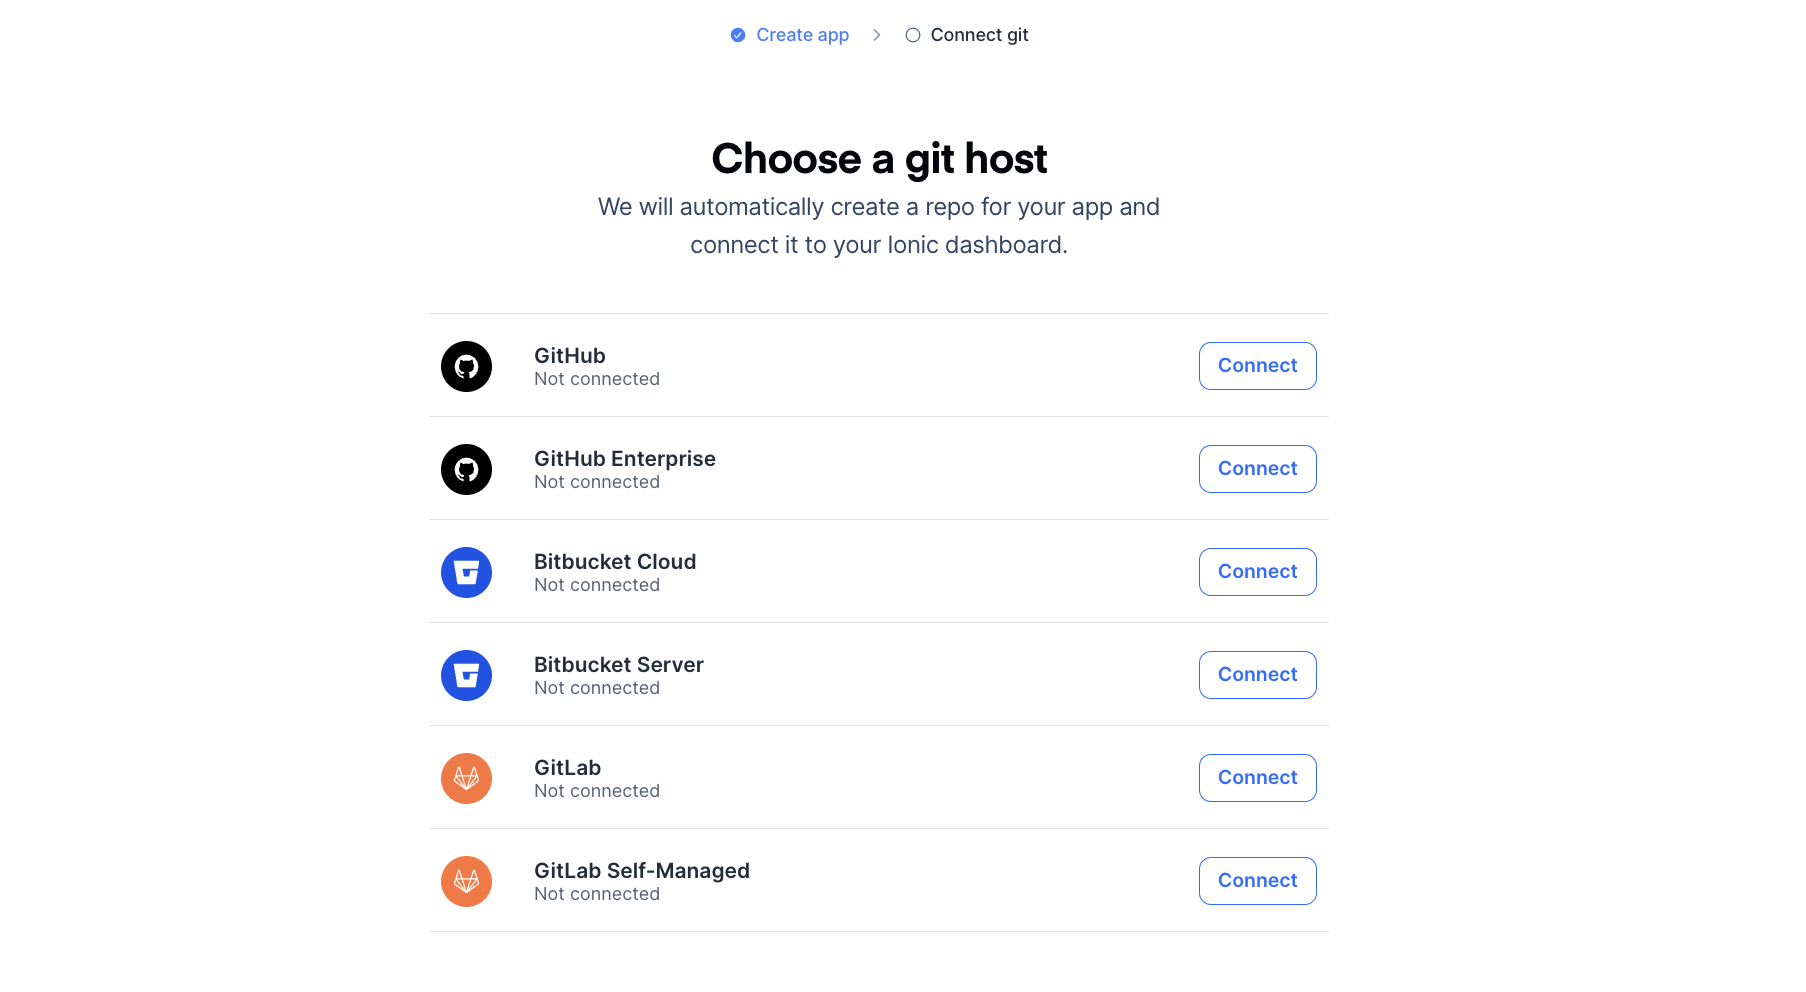
If you chose to create an app from a template, you will now decide how Appflow will access your source code. This is done through a third party Git host such as GitHub, GitLab, Bitbucket, or Azure DevOps.
After pressing the Continue button on the Create from Template form, select your desired Git host from the Choose a git host form. Then follow the instructions in the Start the Integration section for your desired Git host.
While Importing an Existing App
If you decided to import an existing app, then you may have already selected a Git host to integrate with. If that is the case, then proceed into the Start the Integration section below and select your desired Git host.
If you're not using a third-party Git host, you can also push directly to Appflow's internal git service. However, Appflow is not intended to be a Git host and we strongly suggest using a third party Git host to backup your source code repository. Additionally, Integrating Appflow with a third party Git host provides the benefit of viewing commits associated with each Appflow build.
If you still wish to use Appflow's internal git service, then press the Connect git host later button on the Import app form and then follow the instructions to connect to Ionic Remote.
Start the Integration
Pick a card below for instructions on integrating Appflow with your desired Git host
Connect your app to a repo on GitHub.
Connect your app to a repo on GitLab.
Connect your app to a repo on Bitbucket.
Connect your app to a repo on GitHub Enterprise.
Connect your app to a repo on GitLab Self-Managed.
Note: This feature is only available on our Standard or Enterprise plans.Connect your app to a repo using an on-premise Bitbucket Server instance.
Note: This feature is only available on our Standard or Enterprise plans.Connect your app to a repo on Azure DevOps.
Note: This feature is only available on our Standard or Enterprise plans.Connect your app directly to Ionic if you are not using one of the supported Git hosting services.